Armed with my nifty fifty, I took Betsy to the beach in Dampier under the palms. We were there on a picnic fare-welling some friends therefore it wasn't a dedicated photography trip. This spot is frequented by anyone living in the vicinity so shots of the sunset at the palms of Dampier are a dime a dozen.
So, because of the average quality of the photos themselves regarding...pretty much everything, I decided to have a little play. I took this opportunity to experiment back on my laptop, adding graduated filters post-production. This was done in Adobe Camera Raw plug in. In the end I used three different filters, because I went a little crazy. I've done bit of a fun screen shot to give you an idea of what these suckers can do, and how much fun they are to play with late at night...


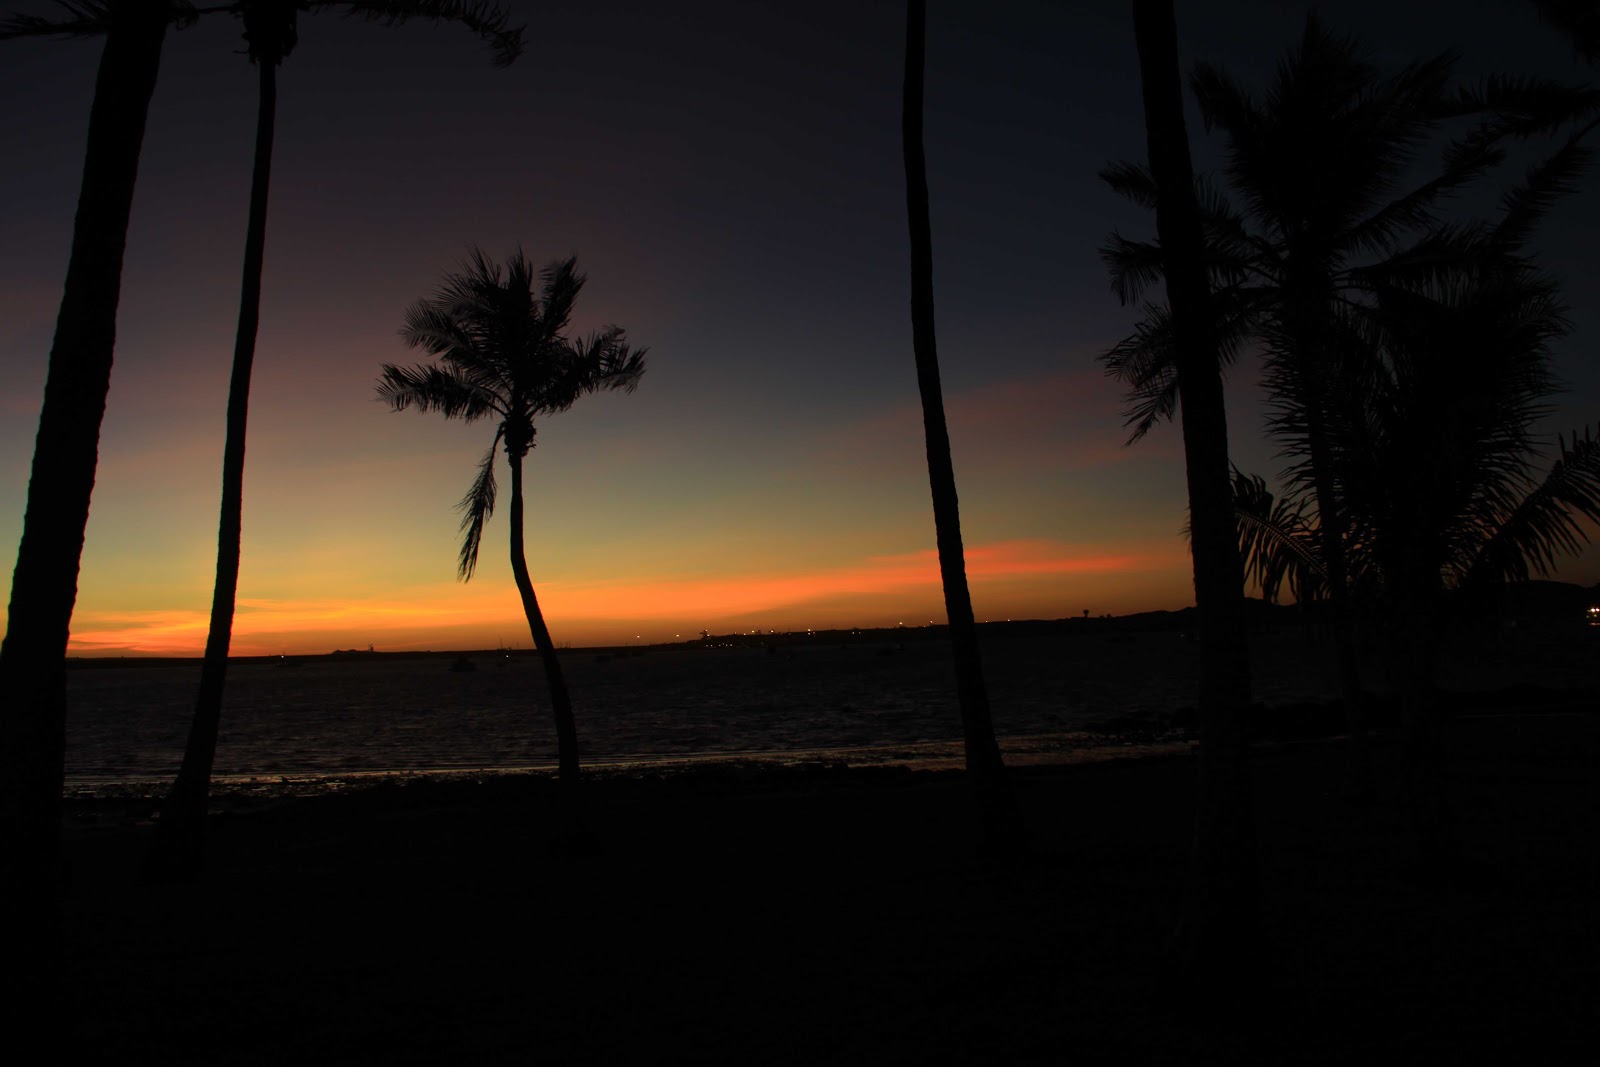
The image I came to rest on after I went a little colour crazy was this one:

I had to lighten the top right hand corner a little, and that was probably the most difficult. One thing that amazes me is that while the colours in the sky in this shot are more vibrant and the clouds stand out more, there is actually a larger gamut of colour in the original image (two above). You can only imagine just how many more colours our eyes pick up at sunset! Our eyes are the best camera we have.
Finally, after the sun went down, I experimented by the water with the nifty fifty and low light. The shot below is the best one that came out, although the background is out of focus.

No comments:
Post a Comment